
What You Need to Start Sewing: Essential & Recommended Supplies
Sewing requires lots of supplies to get started, but your kit will last for years.
- Purchase items as you need them to avoid overbuying.
- Look for 40% or 50% off coupons at the big box craft stores to considerably lessen your cost. You may need to download their app for access.
Since people sew in different ways, what’s required and what’s optional varies from person to person. If there’s something that you’re on the fence about, try sewing without it and see how it goes.
Email me at amy@stitchstudy.com if you have questions.
General Sewing
Essentials
- Sewing Machine (unless sewing by hand)
- Sewing Machine Needles (unless sewing by hand)
- Bobbins for Sewing Machine (unless sewing by hand)
- Measuring Tape
- 2″ x 18″ Ruler
- Pattern Paper
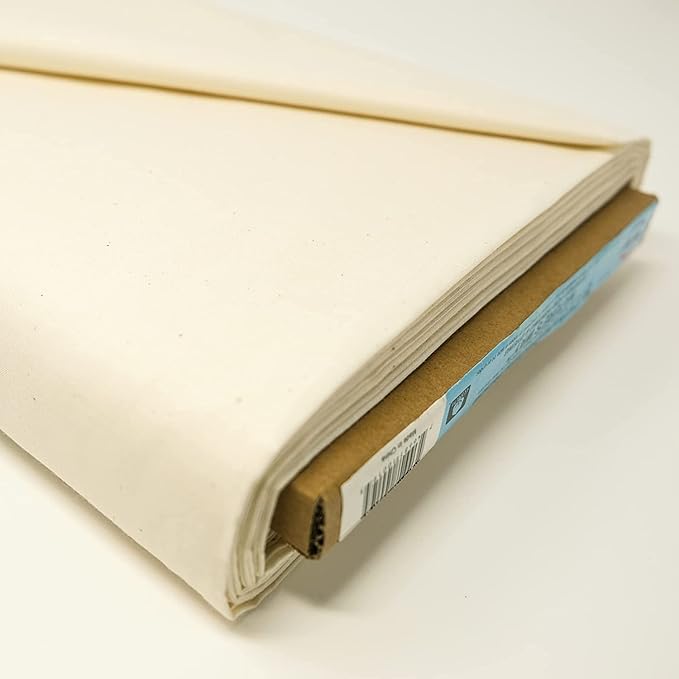
- Fabric
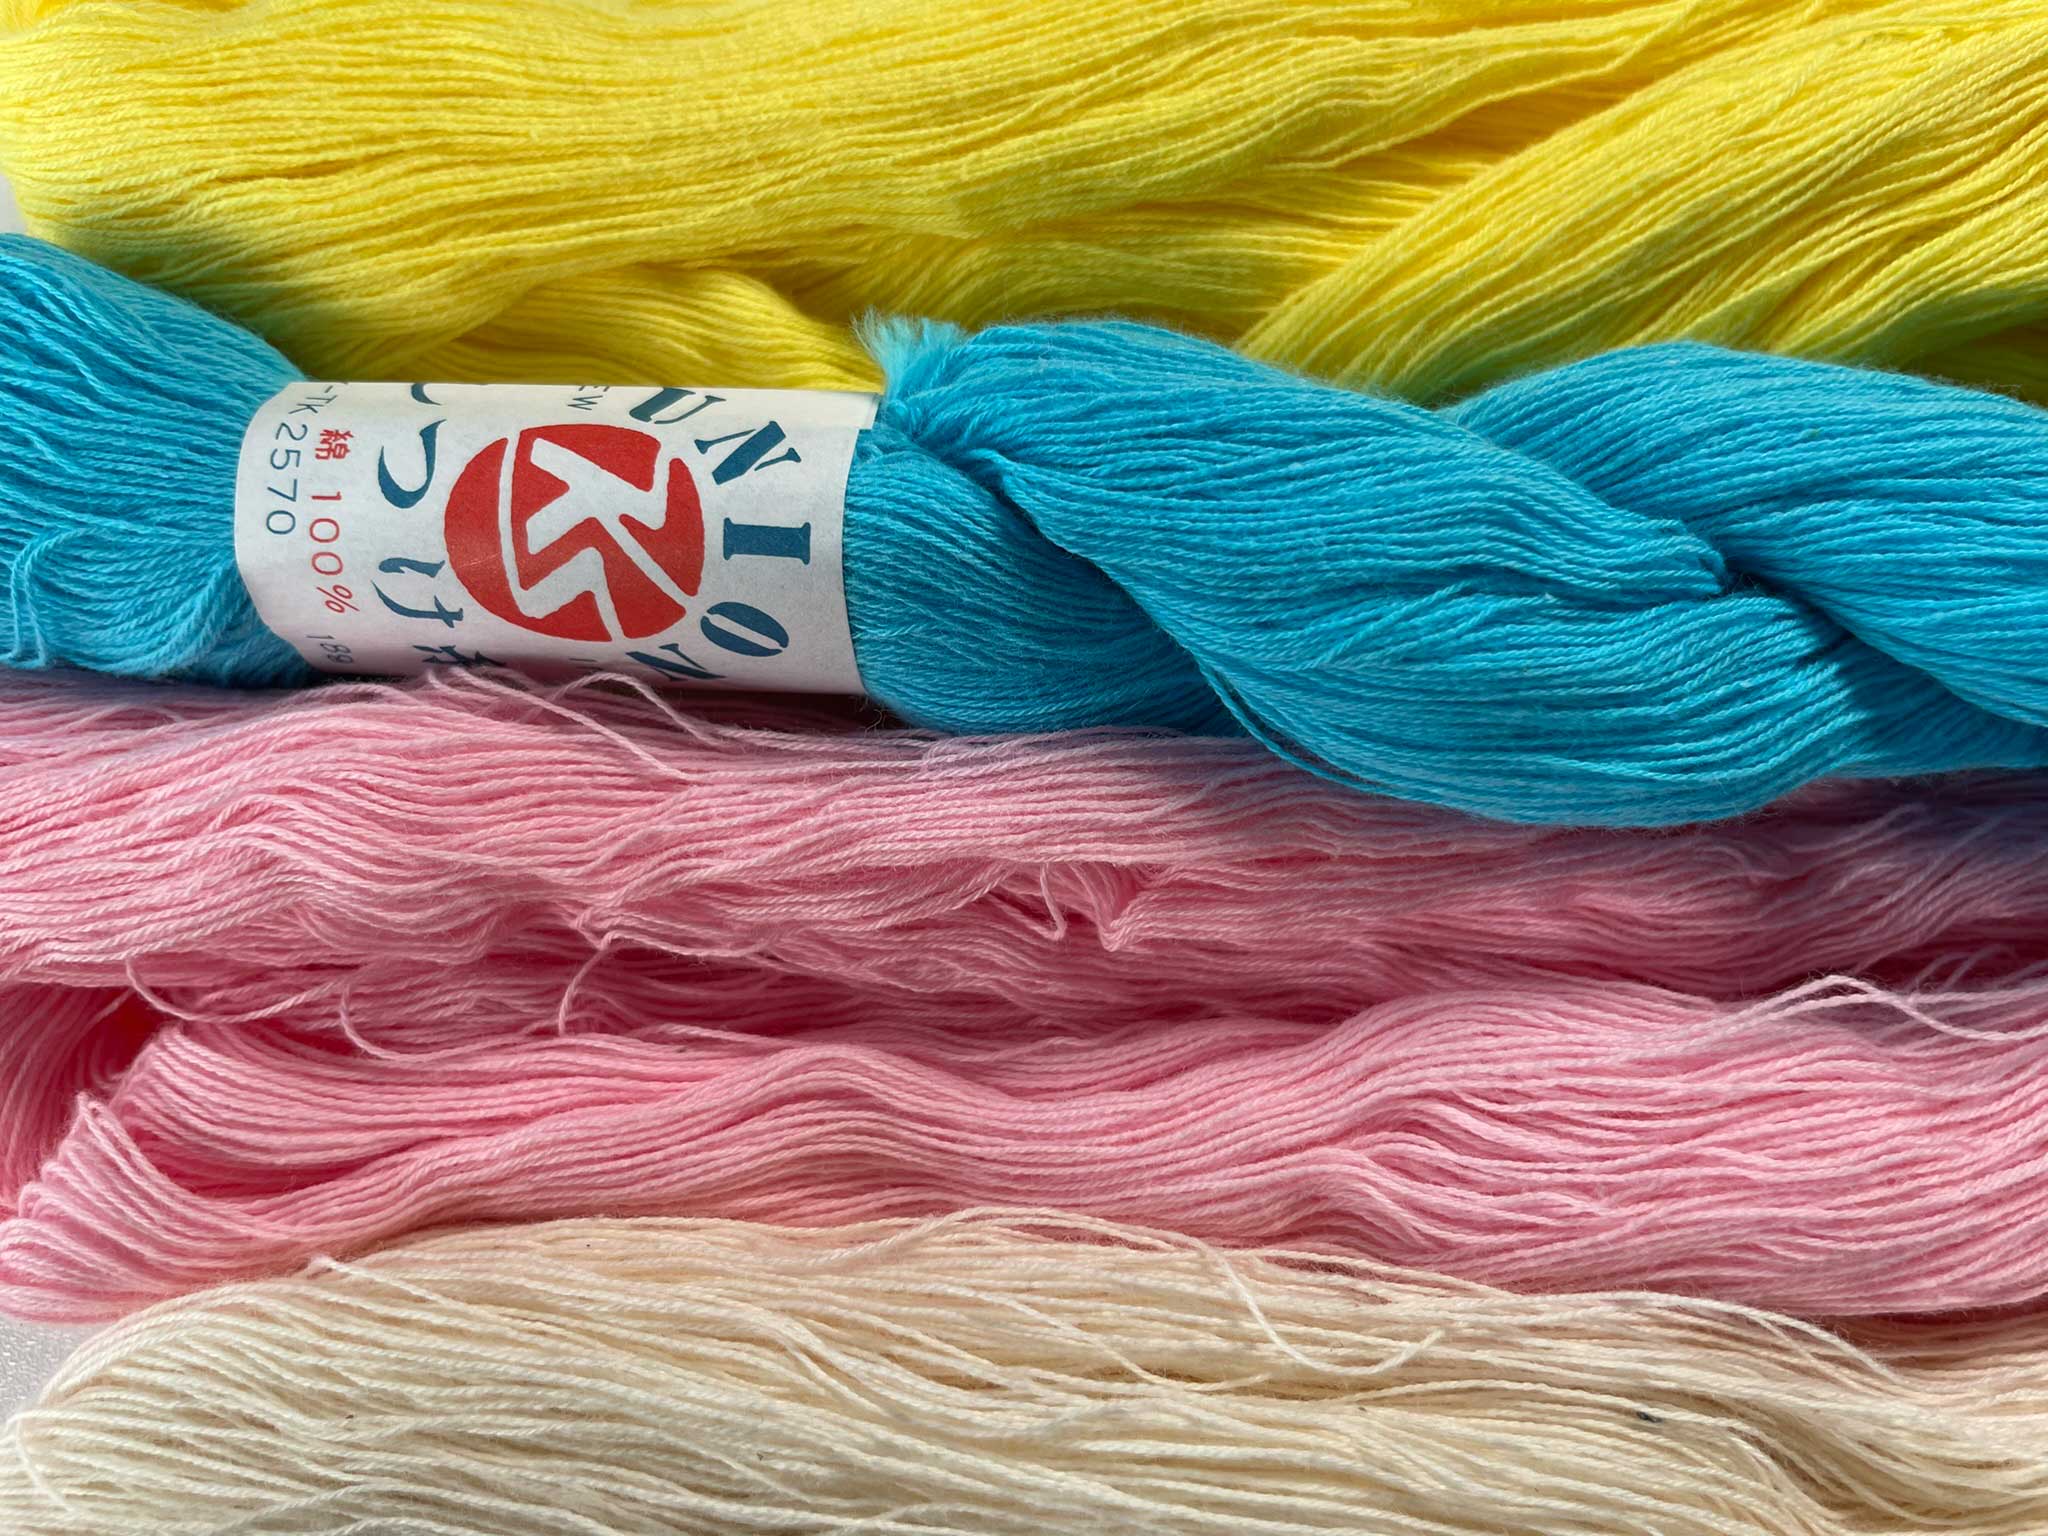
- Thread
- Cutting Surface
- Iron and Ironing Board
- Pins
- Marking Tools
- Dressmaking Scissors
- Press Cloth
Garment Sewing
Essentials
- All essentials for general sewing, plus:
- Tailor’s Ham
- Dritz Design Ruler
Recommended
- All recommended for general sewing, plus:
- Sleeve Roll
- Muslin Fabric
- Serger
Quilting
Essentials
- All essentials for general sewing, except 2×18″ ruler, plus:
- Batting
- 6″ x 24″ Quilting Ruler
- Square Ruler
- Curved Safety Pins
Recommended
- All recommended for general sewing, except colored pencils; plus:
- Quarter-inch Sewing Machine Foot
- 6″ x 12″ Quilting Ruler
Sewing Machines
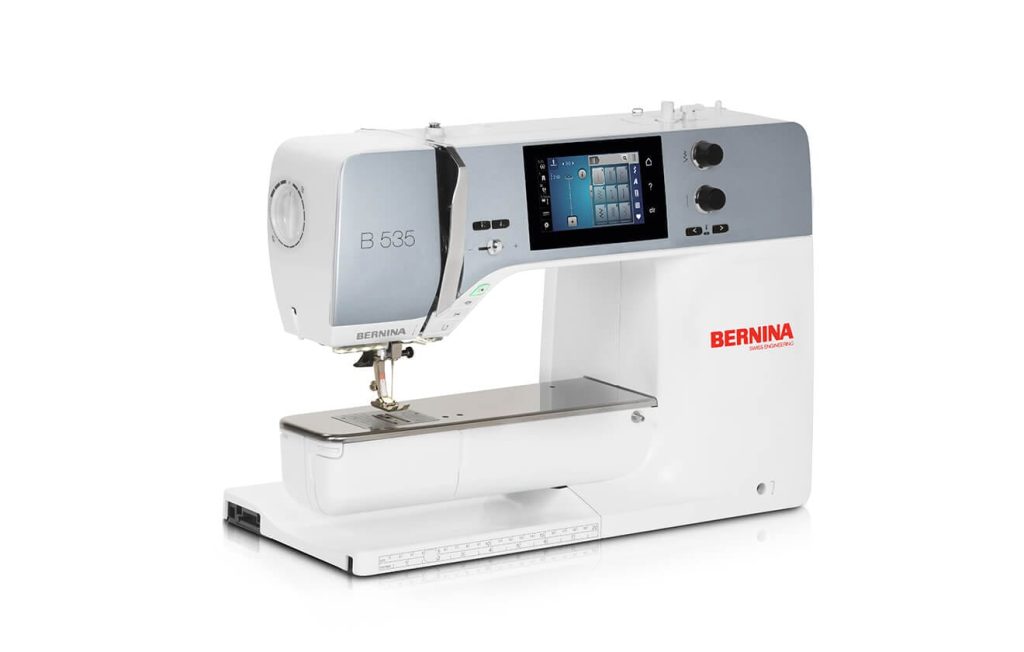
When you’re new to sewing and still deciding if this hobby is for you, you’ll likely start out with a lower-cost machine (in the $200-$500 range). Be aware that you may want to upgrade in the future if you decide to make sewing a long-term hobby.
Sewing Machine Needles
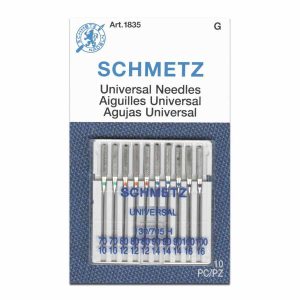
It’s recommended to change your needle with every project, but I change them every 2-3 projects.
For wovens, stock universal needles of different weights.
If you plan to sew knits, keep on hand a supply of ball point or jersey needles; they have a blunt tip that glides between the yarns and doesn’t damage your fabric.
In terms of size, the larger the number, the larger the needle. European needles come in sizes 60 through 120; American needles are sized 8-19. Both sizes are usually listed on packaging. Choose:
- 60/8 or 70/10 for lightweight fabrics
- 70/10 or 80/12 for medium weight fabrics
- 80/12 or 100/18 for heavy weight fabrics
Before you sew, test your stitches on a scrap of your fabric. If your needle leaves behind a noticeable hole, switch to a smaller size.
Sewing Machine Bobbins

Your machine likely came with bobbins when you bought it. If it didn’t, or you need more, consult your manual to find out which bobbins you need — many machines require a specific model from the manufacturer. If you don’t have your manual, search online for the model number.
Serger / Overlocker

Owning a serger is by no means necessary, but it can make life easier (the Brother 1034D is a popular entry-level serger).
After you sew a seam, you’re left with a seam allowance — that’s the fabric on either side your stitches. The raw edge of the seam allowance is prone to fraying, especially after washing, unless it’s finished in some way. That could mean adding a lining to your garment that covers the seam allowances or wrapping thread around the edge of the seam allowance, either by hand or with your sewing machine.
A serger sews your seam and finishes the seam allowance in one pass. If you don’t have a serger, you’ll need to finish the seams so that they don’t fray. You can do this by hand or with your sewing machine.
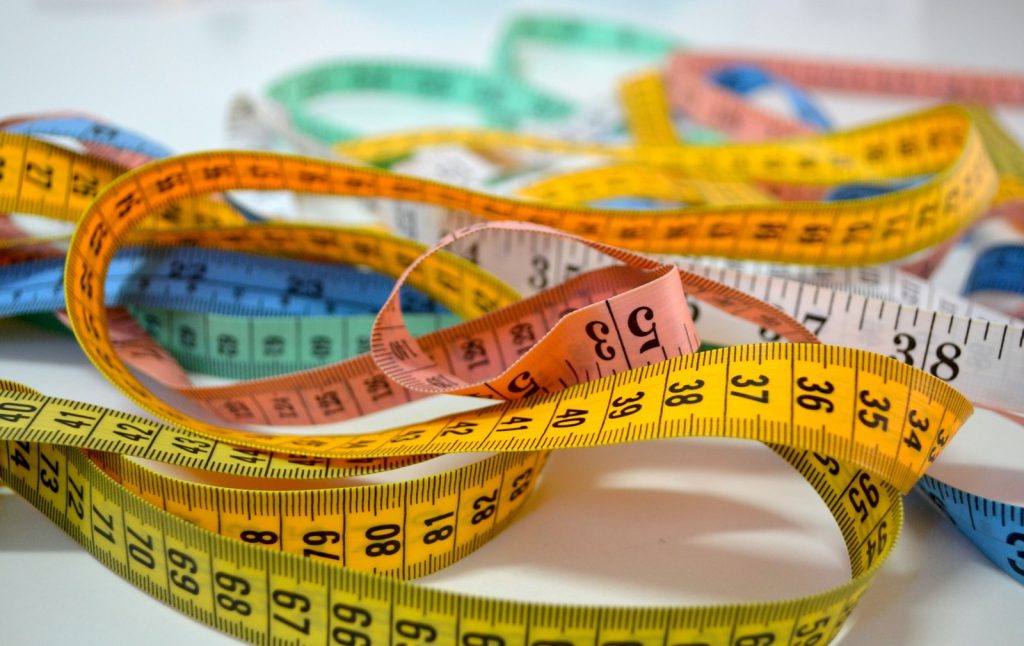
You can use a measuring tape to:
- Measure yourself for sewing patterns
- Measure your sewing patterns, especially curves that can’t be measured with a straight ruler
- Check the widths of the seam allowances that you’ve sewn
- Ensure that your pattern is on the grain of the fabric before you cut (by measuring from the grain line to the selvage)
I pull out my measuring tape almost every time I sew.
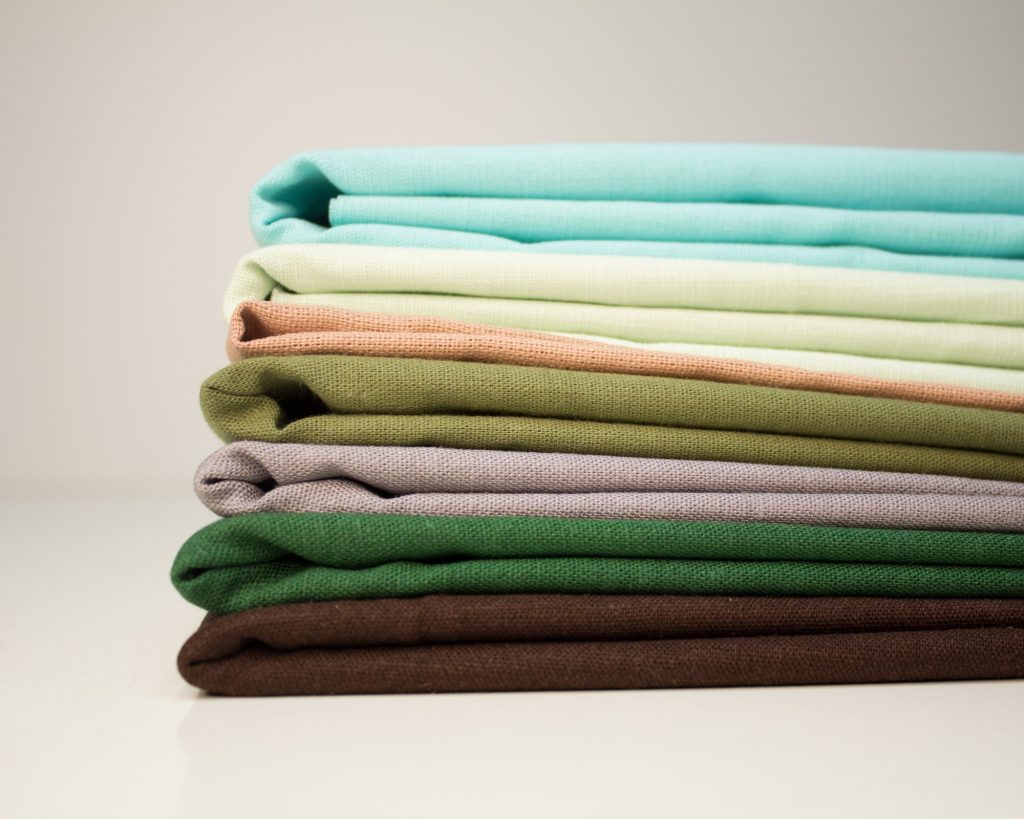
Fabric is typically sold by the yard, but some online stores sell by the half yard.
Always buy more fabric than you need. The extra allows for shrinkage and also gives you scraps to practice your techniques on. When I’m sewing garments, I buy about ½ yard more than the pattern calls for.
When buying your fabric online, order a sample, or if samples aren’t offered, order the smallest yardage possible. I often regret it when I skip this step and the fabric wasn’t what I expected or needed.
Muslin Fabric
Muslin, or calico, is an inexpensive cotton fabric used to test out techniques before you try them on your final project. It’s practice fabric.
In garment sewing, when you make a test version of your garment, it’s called a muslin or toile. The test garment doesn’t need to be made out of muslin, but it’s a popular choice because it’s inexpensive. I bought a bolt of muslin, which prevents multiple trips to the store.
If your garment is a knit, choose an inexpensive knit fabric with the same amount of stretch as your fashion fabric (if your fabric was inexpensive, buy double the yardage).
Making a test version of any project takes the stress out of sewing. By the time you sew the real thing, you’ll know what to expect in terms of how it’s sewn together and how it will fit.
Batting
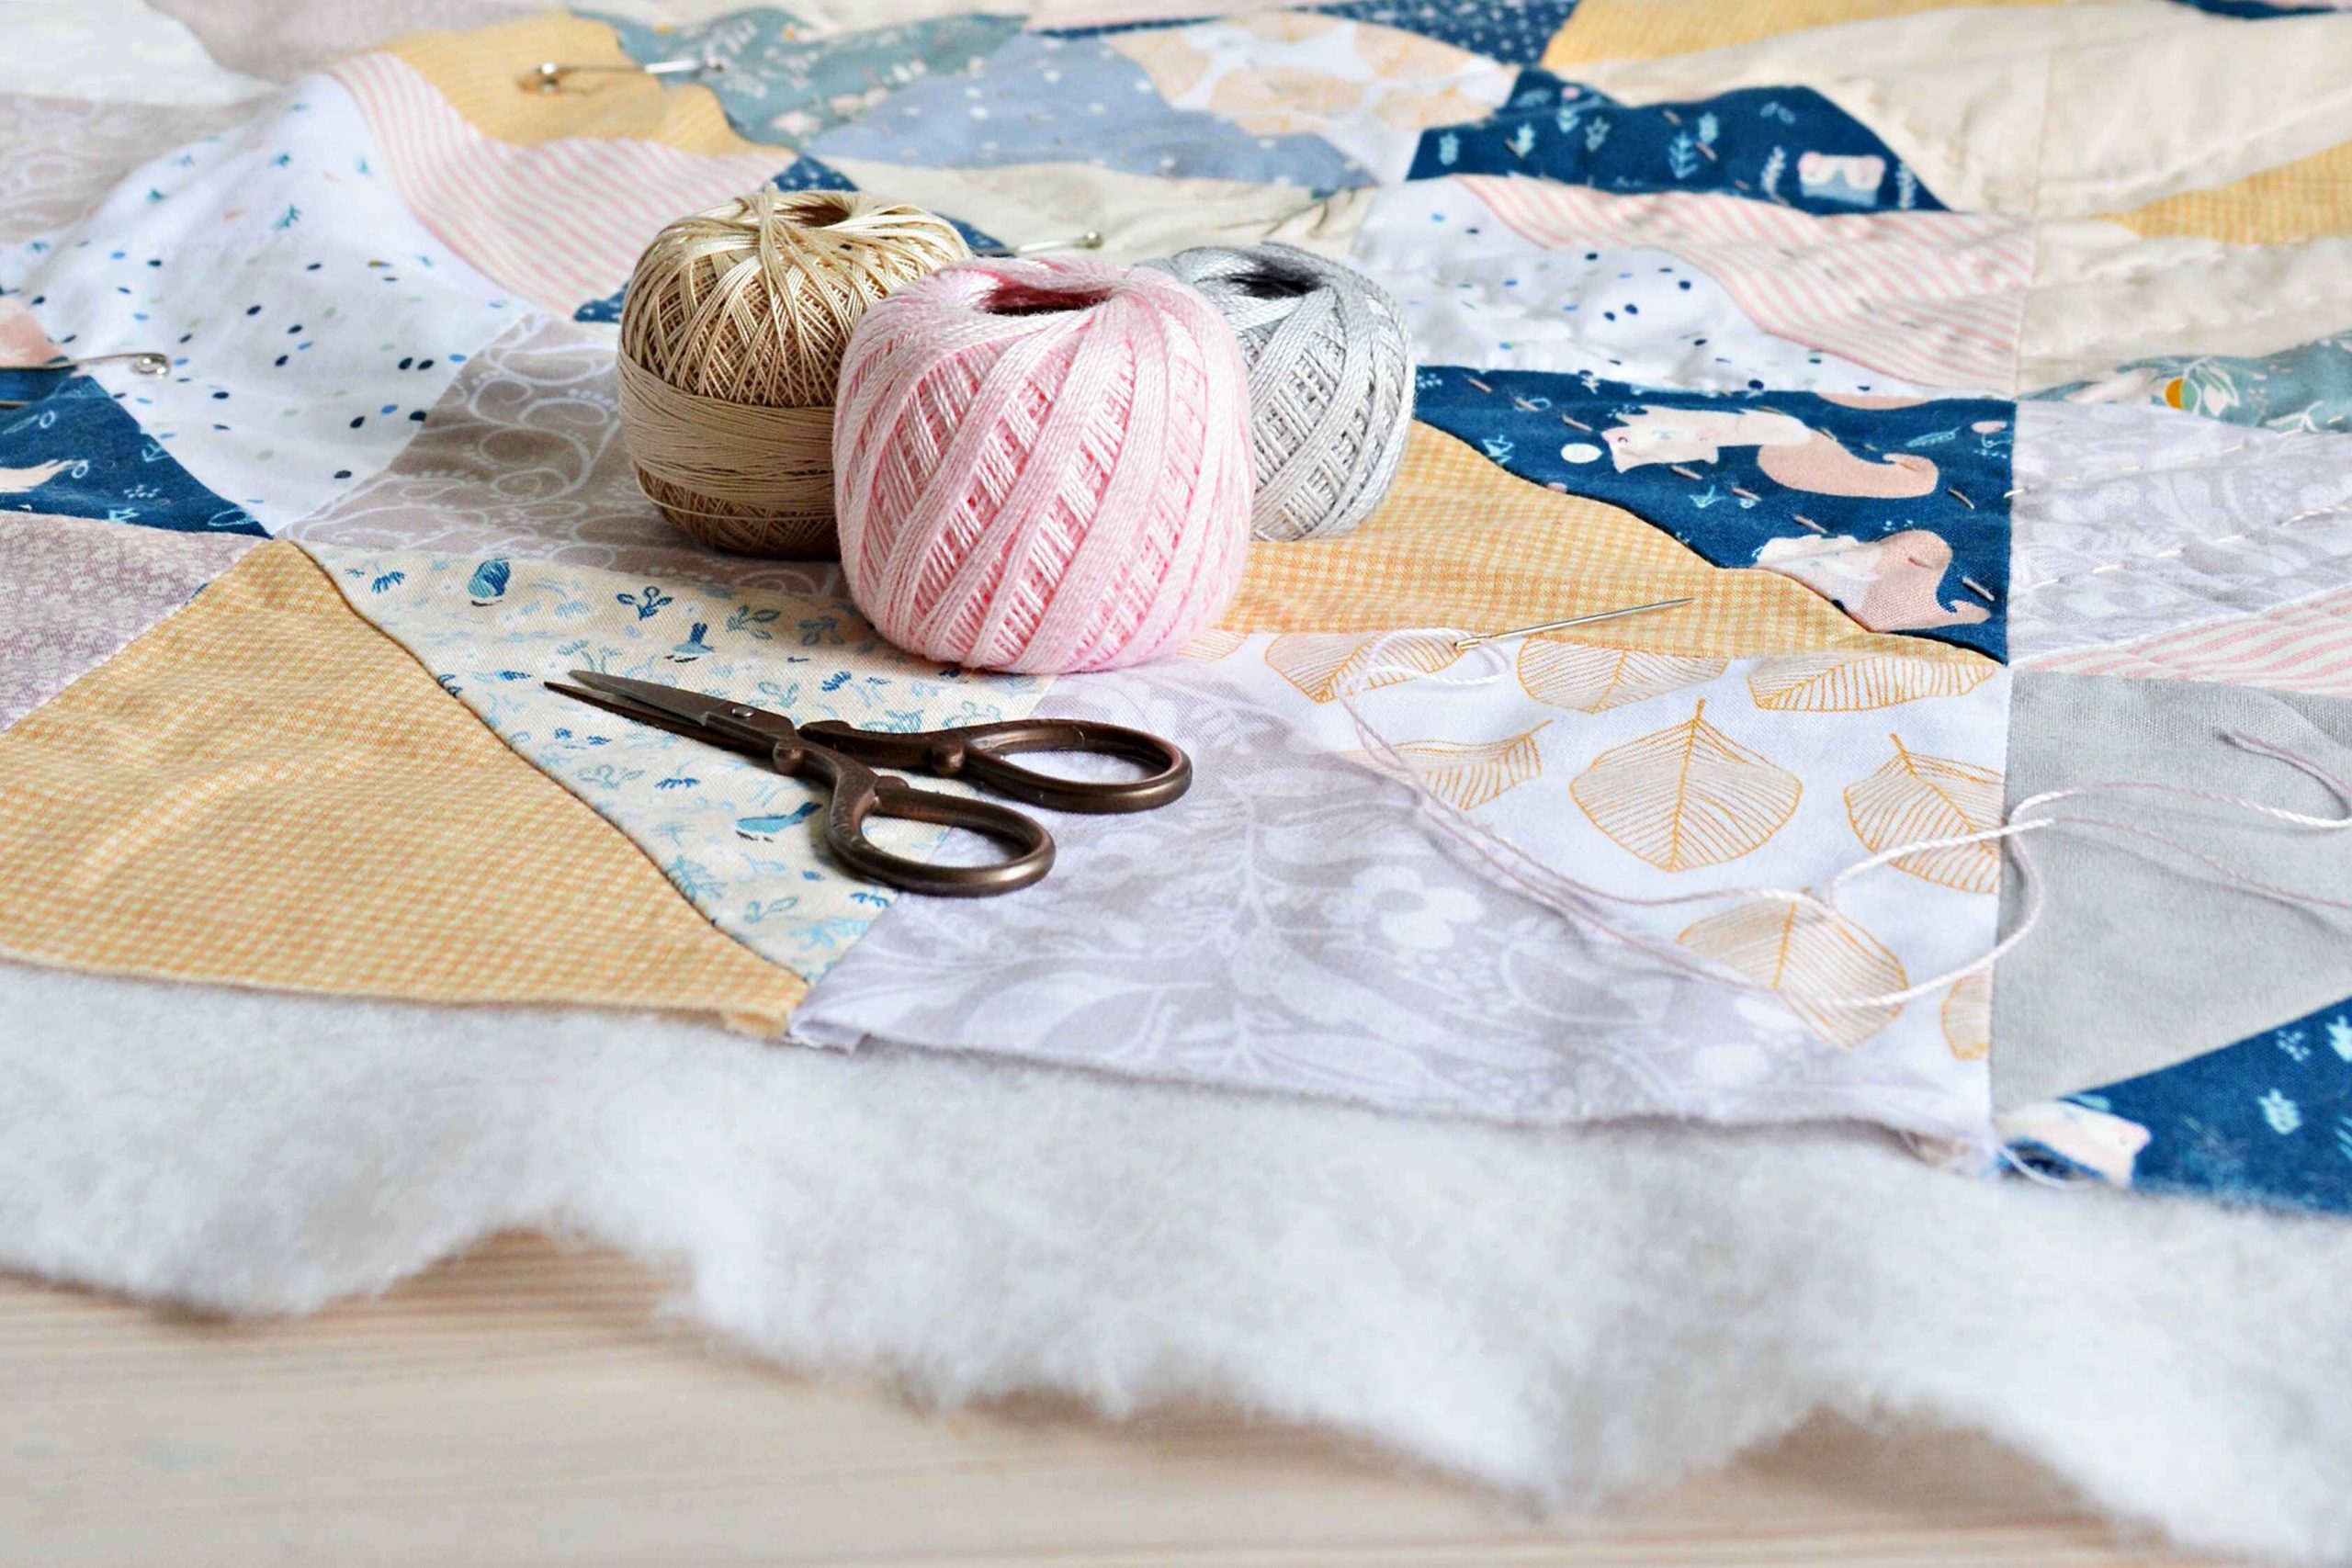
Batting is the soft inner layer of a quilt and is sandwiched between the quilt back and the quilt top. You can choose from batting made of cotton, polyester, a cotton/poly blend, wool, or bamboo.
If your quilt is primarily white, chose a white batting so the color of the batting doesn’t show through.

General Sewing Thread
All-purpose polyester thread works well for general sewing and garment sewing. It has a bit of give and can be used with both woven (non-stretch) and stretch fabrics.
Quilting Thread
For piecing, opt for 100% cotton quilting thread, two-ply 50- or 60-weight thread (a higher number is a thinner thread).
You can quilt with the same thread, or change your thread to achieve different effects. An 80- or 100-weight thread will be less noticeable on your quilt top, while a 28- or 30-weight will stand out and become part of the design.
For hand sewing your quilt, preferences vary, but you can’t go wrong with a 12- or 28-weight thread.
Buying Thread
Gutermann and Mettler are high-quality thread brands.
I buy my thread at the same time as I buy fabric. If you didn’t buy your fabric and thread together, cut a swatch of fabric and take it to the store.
Can’t find a perfect color match? Choose one shade darker than your fabric; lighter shades are more likely to show.
Cutting Surface
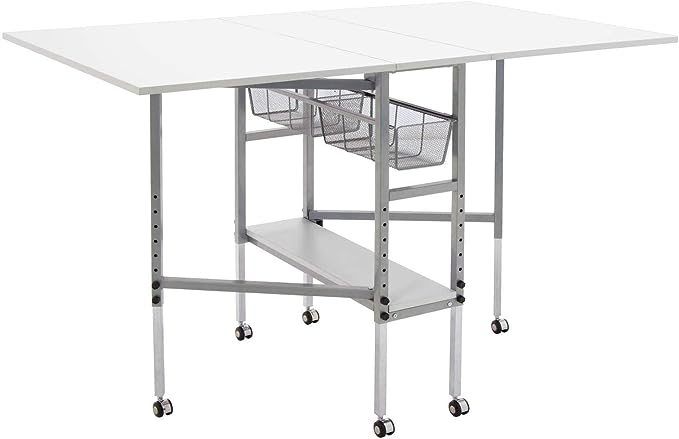
I cut my fabric on a collapsible cutting table from Studio Designs. The height is adjustable, so I can experiment to find the most comfortable height, and when not in use, it takes up little space.
Before I had a dedicated sewing room, I cut on a cardboard cutting surface. I laid my cardboard on the floor, followed by a cutting mat (because I cut with a rotary cutter), and then my fabric. Cutting on the floor has an advantage in that you’re able to accommodate more fabric, but it can also cause back pain.
Can you cut on the same table that you sew on? It depends on your table. If you’re sewing on a desk, it’s likely not large enough to accommodate the width of your fabric. If you’re sewing on a kitchen table, you might have the width, but you won’t have the height – you’ll need to find a way to raise it when you’re cutting.
Dressmaking Scissors

You’ll use dressmaker scissors to cut your fabric (if not using a rotary cutter) and to trim, clip and grade seams, if you’re sewing clothes. Regular scissors aren’t sharp enough to cut through fabric. Once you have your dressmaker scissors, only use them to cut fabric — cutting paper or other materials will dull the blades.
45mm Rotary Cutter
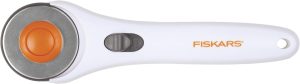
A rotary cutter is an alternative to scissors for cutting your fabric. It looks like a pizza cutter and pairs with a mat to protect your cutting surface.
Most quilters cut with a rotary cutter, and many garment makers do too.
A rotary cutter can’t cut fine details — I’ve cut more than I intended to when trying to make a snip — so you’ll still need a pair of scissors.
Rotary Cutting Mat
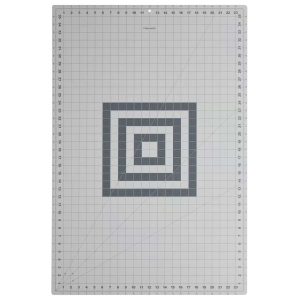
When you’re using a rotary cutter, you need to place your fabric on a self-healing cutting mat to protect your table.
If you’re quilting, you can start with an 18” x 24” mat. For garment sewing, get the biggest mat that your cutting surface can accommodate. I have a 24″ x 36″ mat, which works for most pattern pieces, except pant legs. I cut until I reach the end of the mat, then move the mat underneath the fabric to the next part of the pattern.
Pins

Pins hold your fabric together while you sew.
Glass head pins are my favorite, because you can iron over them and they won’t melt. Why is this important? Before sewing a hem, you need to pin the hem up and then press over the fold, with the pins still in the fabric. With glass head pins, you won’t need to worry about avoiding the pins with the iron.
If you’ll be working with silk or other thin fabrics, buy glass head silk pins that won’t scar your fabric.
Pattern Weights
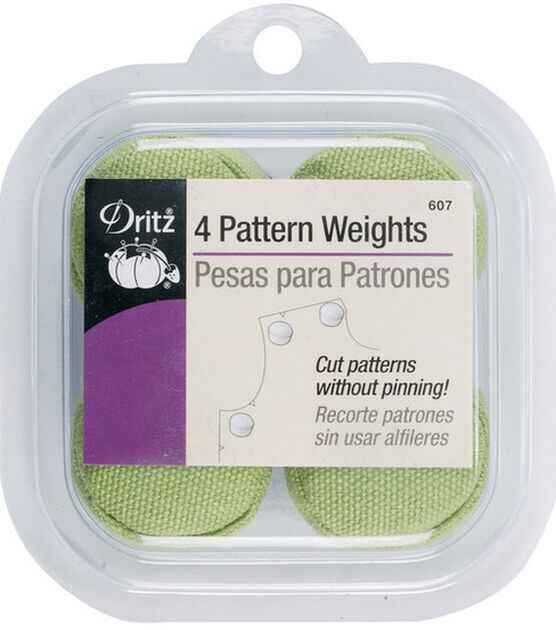
Pattern weights hold down your pattern pieces when you’re tracing patterns or when you’re cutting fabric.
You can buy pattern weights made for sewing, but anything heavy will work. I use fender washers from Home Depot.
Marking Tools

No matter what you sew, you’ll need a way to mark your fabric. Garment sewists mark where darts should be sewn, where pockets should be placed, and some (including me), mark where seams should be sewn (seam lines). If you’re quilting, you may want to mark quilt lines on your fabric.
You’ll need to try different kinds of marking tools to find what you like best. I have several, but I most often mark with a tracing wheel and Saral transfer paper.
Other marking tools include:
Test these marking tools on scrap fabric to ensure that their marks disappear after the fabric is washed.
Embroidery Scissors
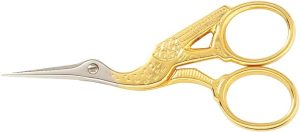
Despite the name, these scissors aren’t just for embroidery. You’ll use these small snips to cut off the sewing tails at the end of every seam and to cut thread for hand sewing.
Seam Ripper
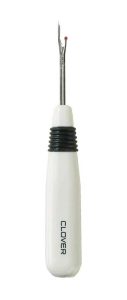
Everyone needs to remove their seams occasionally, no matter how skilled they are. You can do this quickly with a seam ripper, or with the blade of your embroidery snips.
Hand Sewing Needles
When I first starting sewing, I swore that I’d never sew by hand. That’s what the sewing machine is for, right? I didn’t realize at the time that some things, like zippers and linings, are easier to insert by hand. Hand sewing gives you more control.
Types of Needles
This list isn’t exhaustive, but these are the basics.
- Sharps – general-purpose sewing needles
- Quilting / Between – these needles have a shorter length to enable quicker sewing
- Milliners’ / Straws – similar to Sharps but longer
- Embroidery – these have a longer eye than a Sharps needle; otherwise, they are similar to Sharps and are suitable for general sewing
- Tapestry – have a large eye and a blunt round point designed for needlepoint; can also sew knits
- Curved Needles for Quilting – for thread-basting quilt layers together
If you’re sewing knits, you’ll want to choose a needle with a round point, such as a tapestry needle or ball point needle. The round needle pushes the fibers aside, rather than piercing them.
Needle Sizes
Needles that are smaller in diameter have higher numbers (this is the opposite of machine needles).
- 2 – 4 – suitable for medium to heavy fabrics
- 5 – 10 – light to medium fabrics
- 11 – 12 – fine fabrics
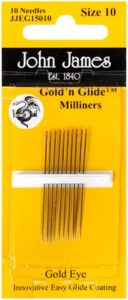
High-quality needle brands include John James, Bohin, and Tulip.
For sewing woven garments, I like John James Gold’n Glide Milliners needles. They actually do glide through fabric. The eyes of these needles are tiny, so get a needle threader to make quick work of threading your needle.
If you’re working with silk or delicate fabric, sew with silk needles to avoid unsightly holes.
Needle Threader
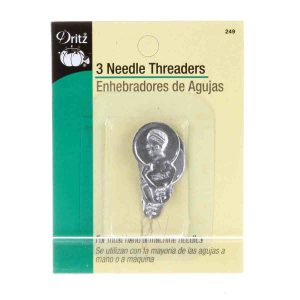
Needle threaders are incredibly cheap but necessary. Some hand sewing needles come with teeny-tiny eyes, and you need a threader to be able to pass the thread through.
Basting Thread for Hand Sewing
Basting — holding fabric together by sewing long, temporary stitches — is more common with garment sewing, but some quilters hand-baste their quilt sandwich together, as an alternative to using pins or spray adhesive.
You can baste with any general-purpose thread, but basting thread can make the process easier. It doesn’t slip out of the fabric and is easily removed when it’s time to pull the basting out.
I like Japanese basting thread from Susan Khalje’s online store. The thread is thick, so you’ll need a needle with a larger eye. Gutterman has a cotton basting thread, but I’ve never tried it.
Curved Safety Pins
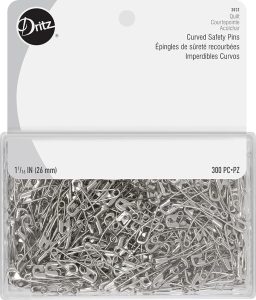
Before you start quilting, you’ll need to secure your quilt sandwich (the backing, batting, and quilt top). If you’re not hand basting, try curved safety pins. Curved pins are easier to put on and take off than straight safety pins.
Iron and Ironing Board
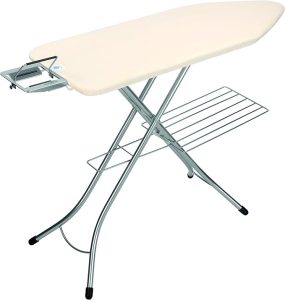
Any standard iron will work for your sewing projects; it doesn’t even need to have a steam function — a spray bottle of water can target stubborn wrinkles more effectively than the burst of steam from an iron.
As for ironing boards, get the largest you can. The Brabantia Size C Ironing Board is highly rated and on my wish list when I’m ready to upgrade my current ironing board.
Press Cloth

To protect your fabric from scorching, press over a silk organza press cloth. A transparent press cloth will allow you to see the seams that you’re pressing and adjust them if needed.
If you don’t have silk organza, press with a piece of muslin.
Tailor’s Ham
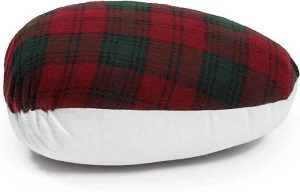
Pressing your fabric over a tailor’s ham builds shape in your garment. Use it to press curved areas, such as a bust dart or the hip area of a skirt.
Sleeve Roll
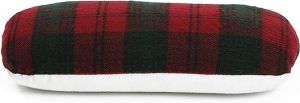
A sleeve roll is handy for pressing sleeves, pants hems, and anything that is too small to fit over the curve of your ironing board.
Pattern Paper

I strongly encourage you to trace your patterns.
Most garment patterns come with multiple sizes whose lines overlap each other. When you cut your pattern, the other sizes are lost. If you trace, your original pattern remains intact and all of the sizes are available to you.
Even if you’re making a non-clothing item, like a tote bag, you may want to alter the size of that bag — trace the pattern to keep the original intact and alter your traced version.
Although not technically pattern paper, medical exam paper is see-through (and can be traced easily). It feels similar to the tissue of sewing patterns. I ordered rolls of exam paper years ago and still have plenty left.
Some sewists prefer Swedish tracing paper. It’s more pliable and can be pinned together and tried on. It’s a quick way to evaluate a pattern, but it doesn’t replace making a muslin.
Dritz Design Ruler

This design ruler makes it easy to draw graceful curves, which is helpful when you’re altering commercial patterns or making your own patterns.
2″ x 18″ Drafting Ruler

This is my go-to drafting ruler when I’m drawing patterns onto pattern paper or making pattern alterations.
6″ x 12″ Quilting Ruler
How do you cut your quilting fabric in a straight line? With a quilting ruler and a rotary cutter.
A 6″ x 12″ ruler gives you more control when cutting and trimming smaller pieces. It’s large enough to cut wider pieces, but not so large that it’s unwieldy.
6″ x 24″ Quilting Ruler
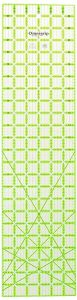
The 6″ x 24″ ruler is essential for long cuts. You can cut an entire length of fabric when the fabric is folded in half.
I don’t quilt, but I reach for this ruler when I’m making patterns and need to square my lines.
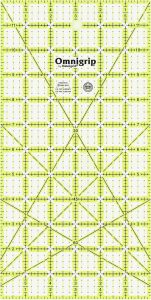
Square Ruler
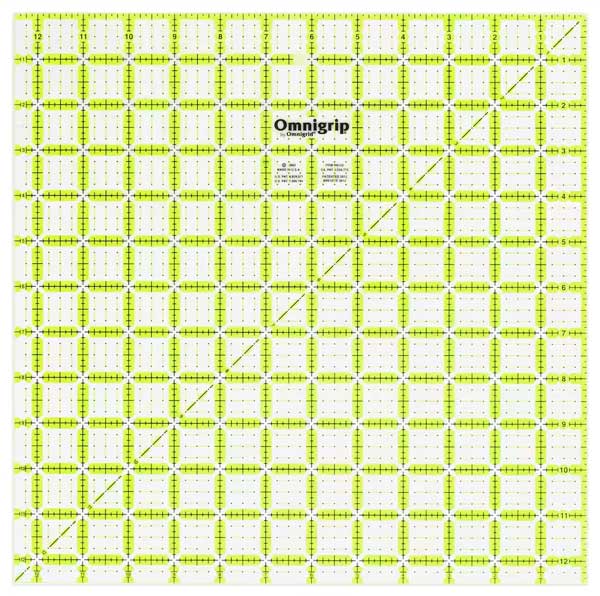
Cut perfect squares for your quilts with a square ruler. A 12 1/2″ square ruler can make blocks that are 12-inches or smaller.
Sewing Gauge

A sewing gauge is handy for checking small measurements, like the width of a seam allowance. I keep it on hand whenever I’m pressing up a seam for a hem.
Painter’s Tape

While not technically a sewing tool, a roll of painter’s tape has been in my sewing arsenal since I started sewing. I apply it to the throat plate of my machine to mark a seam allowance guide that can easily be removed when I’m done.
I also use painter’s tape to hold seam allowances in the right direction before I sew over them (I tape them just below the seam line so that the needle doesn’t pierce the tape).
Colored Pencils
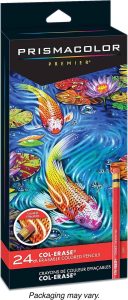
I make pattern alterations with colored pencils.
I rarely sew a pattern as-is; I’ll make changes to patterns for garments, tote bags, aprons, etc. I mark my changes with a red pencil. If there’s a second or third round of alterations, I’ll switch to a new color for each round, so that I can keep track of my progression.
If you don’t have one already, you’ll also need a pencil sharpener. My handheld sharpener lives in a zipper pouch with my colored pencils.
Walking Foot

A walking foot is a presser foot for your sewing machine. It makes two or more layers of fabric travel under your sewing machine needle at the same pace. It’s a mainstay of quilters, who need to keep their layers of fabric and batting aligned as they quilt. But a walking foot is a valuable tool for all types of sewing. It can:
- Ensure that your seams are the same length, especially for bulky or slippery fabrics
- Prevent knit fabrics from stretching out of shape as you sew
- Make it easier to match intersecting seams and plaids, stripes, and prints
- Avoid drag lines on top-stitched armholes, necklines, and hems
So why is a walking foot necessary, and how does it work?
When you sew without a walking foot, the bottom layer of fabric touches the feed dogs (the teeth that move the fabric as you sew). The top layer of fabric, which isn’t in contact with the feed dogs, moves at a different pace. That’s why after you finish a seam, you may find that one layer is longer than the other.
A walking foot has its own feed dogs that press down on the top layer of fabric to keep it moving in concert with the bottom layer.
Your sewing machine may require a walking foot that is made specifically for that brand (like this Singer walking foot for Singer machines). Check your manual to find out which model is compatible.
Quarter Inch Sewing Machine Foot

Most quilting seams are sewn with a 1/4″ seam allowance. This foot gives you a metal guide to follow so that the edge of your fabric is exactly 1/4″ away from the needle.
Consult your sewing machine manual to find out what feet will work with your machine. A third-party foot, like this quarter-inch foot by Singer may fit your machine. Bernina machines require Bernina-made feet that are typically pricey (their quarter-inch foot is $65).


